- Part 1: Manage Environments with Terraform - Set up environments with policies
- Part 2: Manage Databases with Terraform - Register database instances
- Part 3: Manage Projects with Terraform - Organize databases into projects
- Part 4: Manage General Settings with Terraform 👈
- Part 5: Manage SQL Review Rules with Terraform - Define SQL review policies
- Part 6: Manage Users and Groups with Terraform - Configure users and groups
- Part 7: Manage Database Access Control with Terraform - Grant database permissions
- Part 8: Manage Data Masking with Terraform - Protect sensitive data
This tutorial series uses separate Terraform files for better organization. Files are numbered by tutorial part and sub-step (e.g., 1-1-env-setting.tf, 1-2-env-policy-rollout.tf for Part 1, 2-instances.tf for Part 2, etc.). Terraform automatically handles dependencies between files.
This tutorial configures workspace-level settings that apply to all projects and environments in
your Bytebase workspace.
What You’ll Learn
- Configure workspace profile settings including signup controls and external URL
- Create multi-step, risk-based approval flows for database changes using CEL conditions
Prerequisites
Before starting this tutorial, ensure you have:- Completed Part 3: Manage Projects with Terraform
- Bytebase running with service account configured
- Your Terraform files from the previous tutorials
Setup
From the previous tutorials, you should have:- Bytebase workspaces and projects configured
- Service account with Workspace Admin role
- Your Terraform files ready for additional configurations
Configure General Settings
Step 1 - Workspace Profile Configuration
| Terraform resource | bytebase_setting |
| Sample file | 4-1-workspace-profile.tf |
4-1-workspace-profile.tf with the workspace profile settings:
4-1-workspace-profile.tf
- Disables public signup for security
- Restricts users to specific email domains
- Sets your Bytebase workspace’s external URL
Step 2 - Approval Flow Settings
| Terraform resource | bytebase_setting |
| Sample file | 4-2-approval-flow.tf |
4-2-approval-flow.tf with approval flow configuration that requires multiple approvals for risky operations:
4-2-approval-flow.tf
flow.roles: Ordered list of roles that must approve the issue, in sequence.source: The activity source this rule matches —CHANGE_DATABASE,CREATE_DATABASE,EXPORT_DATA,REQUEST_ROLE, orREQUEST_ACCESS. Omit for a fallback rule.condition: A CEL expression evaluated against the request. Common variables includerequest.risk(100 = LOW, 200 = MODERATE, 300 = HIGH) andresource.project_id. Use"true"for a catch-all fallback.- Rules are evaluated in order; the first matching rule applies, so place the most specific rules first and keep a fallback last.
Step 3 - Apply Configuration
Step 4 - Verify Configuration
Workspace Profile Settings
- Go to Settings > General to verify workspace profile settings.
- Log out and try to signup which should be disabled.
- Visit the external URL to verify it is set.
Approval Flows
-
Go to CI/CD > Custom Approval to see the approval flow.
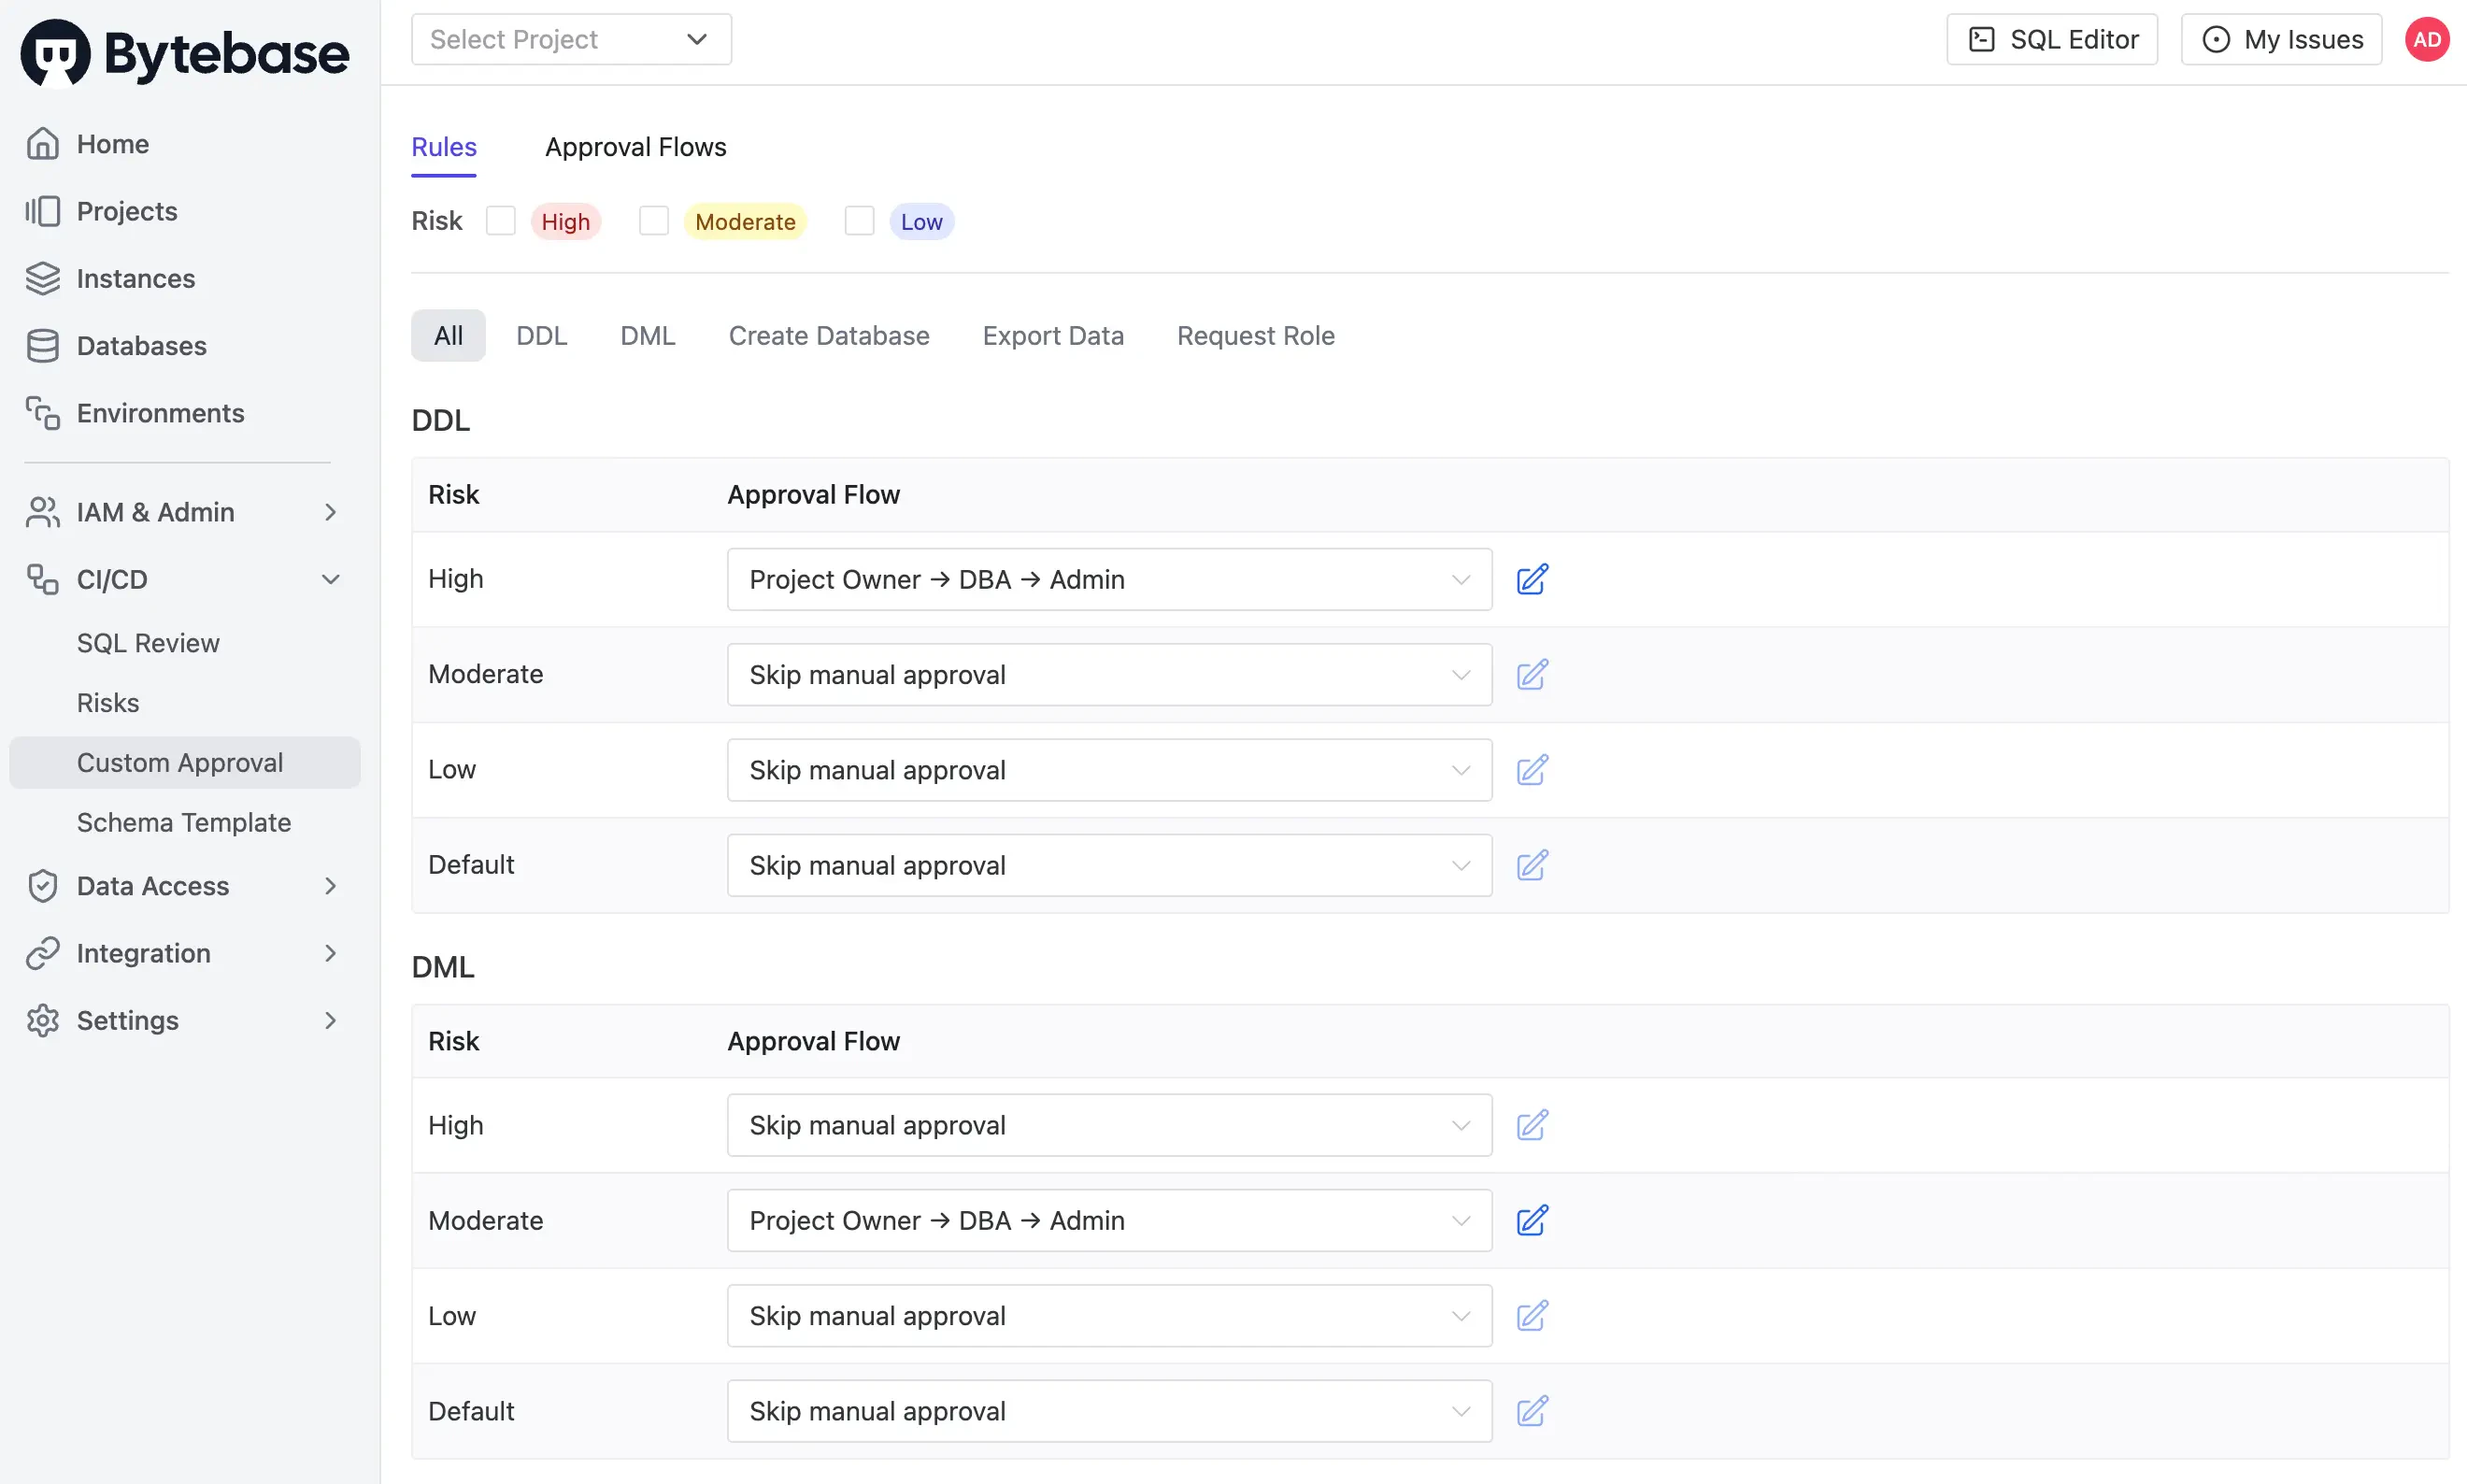
-
Verify the
Project Owner → DBA → Adminflow is configured for theCHANGE_DATABASEsource withrequest.risk >= 100, and theFallback rulecatches everything else.
Risk levels (returned by
request.risk in the CEL expression) are configured separately in CI/CD > Risks in the UI. Each risk rule maps an activity (DDL/DML/CREATE_DATABASE/EXPORT/REQUEST_ROLE) plus a CEL condition to a numeric level (100 LOW / 200 MODERATE / 300 HIGH), which is then evaluated against your approval-flow conditions here.Key Points
- Workspace Profile: Controls signup, domain restrictions, and external URL for your entire Bytebase workspace
- Approval Flows: Define multi-step approval processes. Each rule binds a
source+ CELconditionto an ordered list of approver roles; rules are evaluated top-down, first match wins - Fallback Rule: Include a final rule with
condition = "true"and nosourceso that every issue has a defined approval path